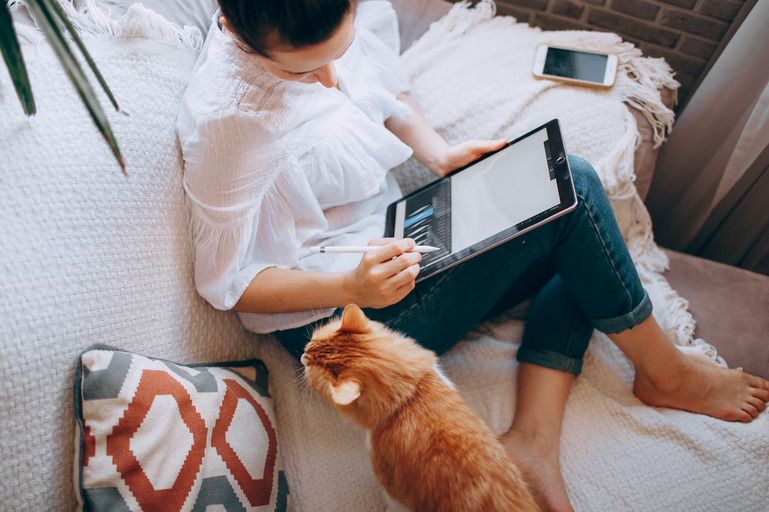
Are you ready to elevate your digital art game and create stunningly realistic hair in Procreate? Whether you’re a seasoned artist or just starting out, mastering the art of drawing lifelike hair can take your creations to the next level. With the right brushes and techniques, you can bring your characters to life with flowing locks that look like they could jump off the screen. In this blog post, we’ll dive into how to slay the digital hair game using Procreate brushes.
Choose the Right Brushes
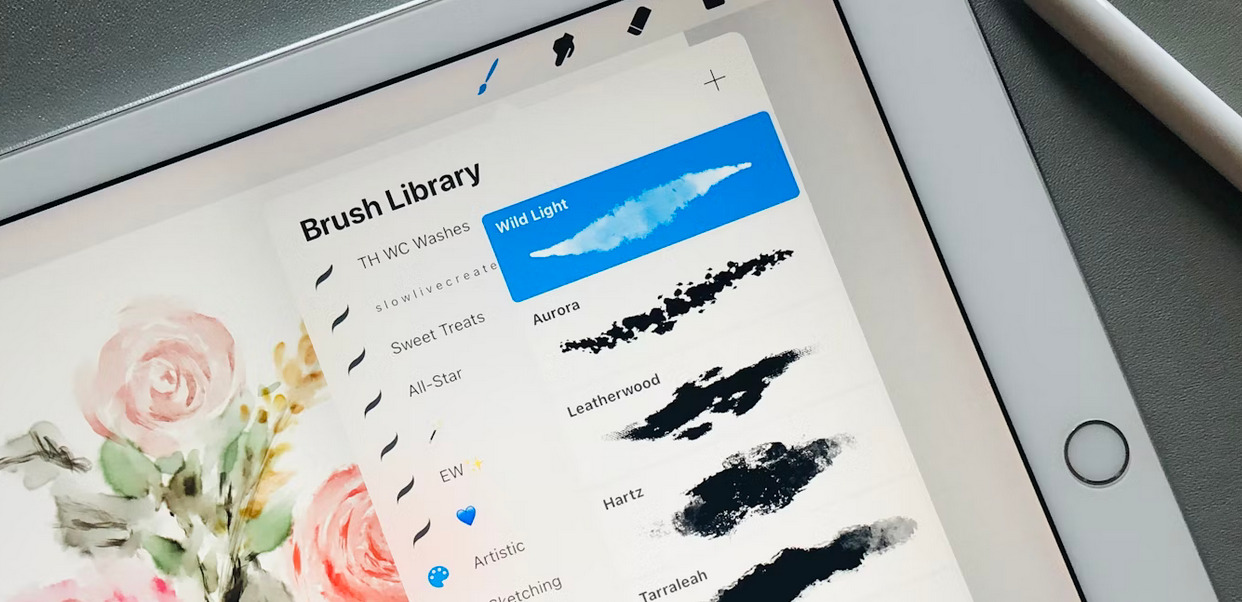
When it comes to creating realistic hair in Procreate, choosing the right brushes is key. Look for brushes that mimic the texture and movement of different hair types, from sleek straight strands to curly coils. Experiment with a variety of brush shapes and sizes to achieve different effects – try using tapered brushes for wispy ends or textured brushes for volume. Don’t be afraid to mix and match brushes to create depth and dimension in your hair illustrations. To add realism and interest, consider combining soft blending brushes with more defined detail brushes. Procreate hair brushes come in a variety of styles and can be found for free or purchased from online marketplaces.
Study Hair Textures
When it comes to creating realistic hair in Procreate, studying different hair textures is essential. Each hair type – straight, wavy, curly, or coily – has its own unique characteristics that can be replicated through brush strokes. For straight hair textures, focus on clean and smooth lines to mimic the sleekness of the strands. Use a combination of thin and thick brushes to add dimension and depth to the hairstyle. Wavy hair textures require more fluid and gentle brush strokes to capture the subtle waves and movement of the locks. Experiment with blending tools to create a seamless transition between waves.
Layering Technique
When it comes to creating realistic hair in Procreate, mastering the layering technique is key. Layering allows you to build depth and dimension in your digital hair artwork. Start by creating a base layer for the overall shape and flow of the hair. Use a larger brush size to lay down the foundation before moving on to finer details. Next, add additional layers for highlights and shadows. Experiment with different opacities and blending modes to achieve a natural-looking texture. Don’t be afraid to mix colors and strokes on separate layers to create tones and strand variations.
Detailing
The little touches can make a big difference when it comes to detailing in digital hair art. Adding strands of hair that flow naturally or incorporating subtle highlights and shadows can bring your piece to life. Take your time to focus on small details like flyaway hairs, wisps around the face, or variations in thickness for a more realistic look. Experiment with different brush sizes and opacities to create depth and dimension in your work. Remember that less is often more – sometimes, just a few well-placed details are all you need to enhance the overall effect.
Creating realistic hair can be a game-changer in the digital art world. By choosing the right Procreate brushes, studying different hair textures, mastering layering techniques, and paying attention to detailing, you can elevate your digital art to a whole new level. Remember that practice makes perfect – don’t get discouraged if your first attempts don’t turn out as expected. Keep experimenting and refining your techniques until you achieve the desired results. With time and dedication, you’ll be slaying the digital hair game in no time.